Working With PolyFills (PolyFill Tool)What Are PolyFills? |
Last updated on 11/14/2010 |
One of the unique features of Stykz is the PolyFill Tool, which lets you fill areas (enclosed or otherwise) with a solid color - these areas are called polyfills.
Life Before PolyFills (Pivot Technique)
PolyFills were developed to make it easier for animators to create opaque regions without having to resort to an approach like that used by Pivot developers - going back and forth with line segments in an area to make it appear filled:
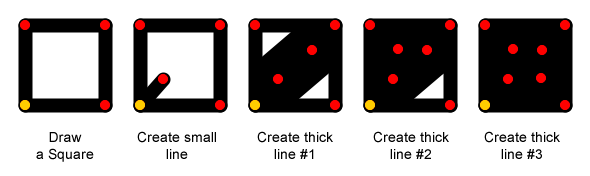
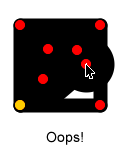
In the above example, it was necessary to create the small line into the interior of the square because when the thick lines get created, the rounded end of the thick lines might extend outside of the square. As you can see, this takes a minimum of four steps after the creation of the square, and you would probably want to make those "interior lines" static to avoid accidentally moving one and breaking the illusion of the square being filled:
And if you needed to actually change the size of the square, you'd have to either add additional lines, or start all over again with a new figure!
Life After PolyFills
With the PolyFill Tool, all you need to do is to click at all of the nodes that make up the region you're trying to fill, one at a time. End by clicking the same node you started with and a polyfill region will be created, initially filled with a light blue color:
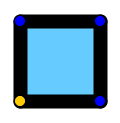
(For more detailed information, see Creating a PolyFill.) You can then change the color of the polyfill through the PolyFill Properties palette.
The best thing about polyfills is that they are "attached" to the nodes you clicked on, so as you manipulate the nodes, the polyfill changes accordingly:
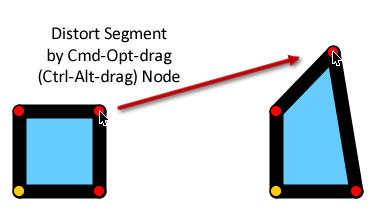
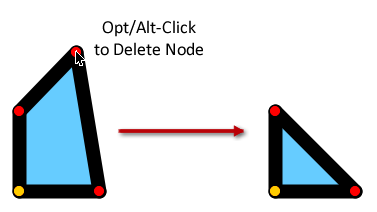
And if you delete or add a node, the polyfill adapts:
As you can see, polyfills reduce the number of steps to create a filled area and also provide a lot of flexibility. You can do a lot more with polyfills; to find out more, see Creating a PolyFill.