Working With Figures (Select Tool)Using a Built-In Figure |
Last updated on 11/7/2010 |
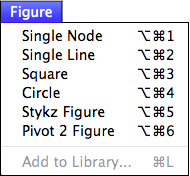
Although you can create your own figures from scratch using Stykz, you may want to use one of the built-in figures available in Stykz in your animations, or use it as a starting point for your own figures. You can see the list of available built-in figures by dropping down the Figures menu:
This is a quick overview of all of the built-in figures available in Stykz:
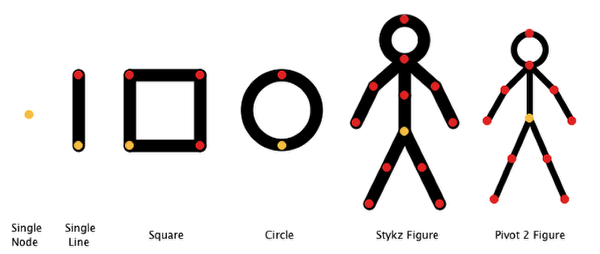
Selecting any of the built in figures from the Figures menu will create them in the center of the Stage. Although most of these figures are self-explanatory, there are a couple that need a little explanation:
Single Node: Since you can create custom segments and figures by just right-clicking and dragging with the Select or Subselect tool, it would be too easy to right-click and not drag and create an empty node by accident. Stykz prevents this from happening, but there are some situations where having a single drag node can be helpful (some people use this to help line up objects or to "mark" places where other figures will be placed like a placeholder. So Stykz allows you to create these single nodes only through the Figure menu. Single nodes are only displayed in Edit Mode and will disappear in Preview since they have no "substance" (for information on the two modes, see View Modes: Edit vs. Preview).
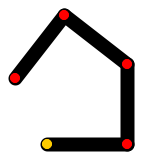
Square: Stykz does not allow you to have any enclosed figures other than circles, but you can certainly create figures that look like they are enclosed. This is an example; the square figure is actually just four line segments where the last line segment overlaps the first. Be aware of this if you try to click and drag on one of the pivot nodes - you will "open" the square, like this: