Exporting AnimationsExporting a QuickTime Movie |
Last updated on 11/18/2010 |
Stykz can export all of the frames of your animation as a Quicktime Movie file (.mov) for sharing with others, or uploading to YouTube.
To export a Quicktime movie, select File > Export Animation....
NOTE: Although Mac OS X comes bundled with Quicktime support, Windows does not. So if you don't have QuickTime installed, you will get this dialog box before the standard "save as" dialog is displayed:

If you don't have QuickTime installed, you can download it from http://quicktime.apple.com/.
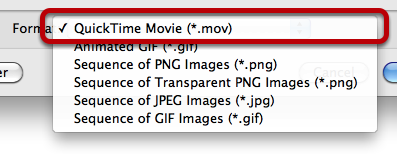
When the Export Animation dialog box shows up, select Quicktime Movie from the Format dropdown menu:

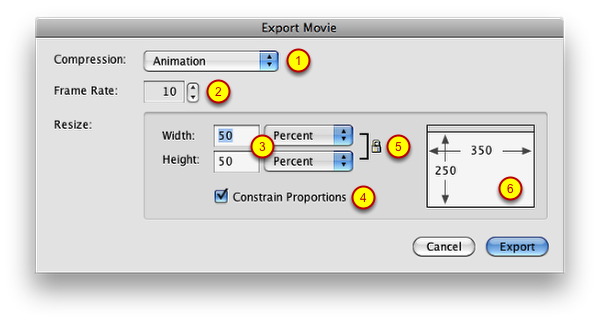
Give your movie file a name, and click Save. After you do that, the Export Movie dialog box will be displayed:

Compression
This is where you set the compression method ("codec"). When you drop down the menu (1), you should see a list of codecs available to your QuickTime installation. By default, these should be Animation, H.263, H.264, Sorenson Video 2, and Sorenson Video 3. The Animation codec is selected by default, but you can choose another one if you prefer.
Frame Rate
This spinner (2) shows the rate, in frames per second, that your animation will play back at when you run your QuickTime movie. By default, this will match the Speed on the Controller Palette, but you can change it to whatever you like.
Size
This is where you specify the width and height of the frames of the QuickTime movie you're about to export. You can choose to use pixels or percent (3), and if you turn on Constrain Proportions (4), the lock (5) will display meaning that the values you enter will be constrained. The frame size proxy (6) will show what the resulting size will be based on the current Stage size. By default, the values will be set to 50 percent of width and height, which will generate a movie that is 350 x 250 pixels.
Exporting the Movie
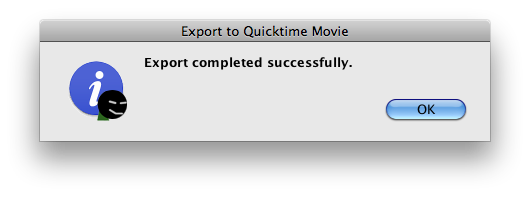
After you've made all your selections, click the Export button. Stykz will make two passes across the animation - the first is preparing for export, where every frame is examined and the movie is constructed, and the second pass is the actual exporting of the constructed movie to disk. When the process is complete, you will get this completion dialog:

Stykz saves the export settings of the last export with your Stykz document when you save it. Thee next time you go to export that same animation, your last export settings will be used by default. This is really helpful when you haven't worked on an animation for a while and then you come back to work on it some more; you may not have remembered what settings you chose but Stykz will show them to you the next time you try an export.